|
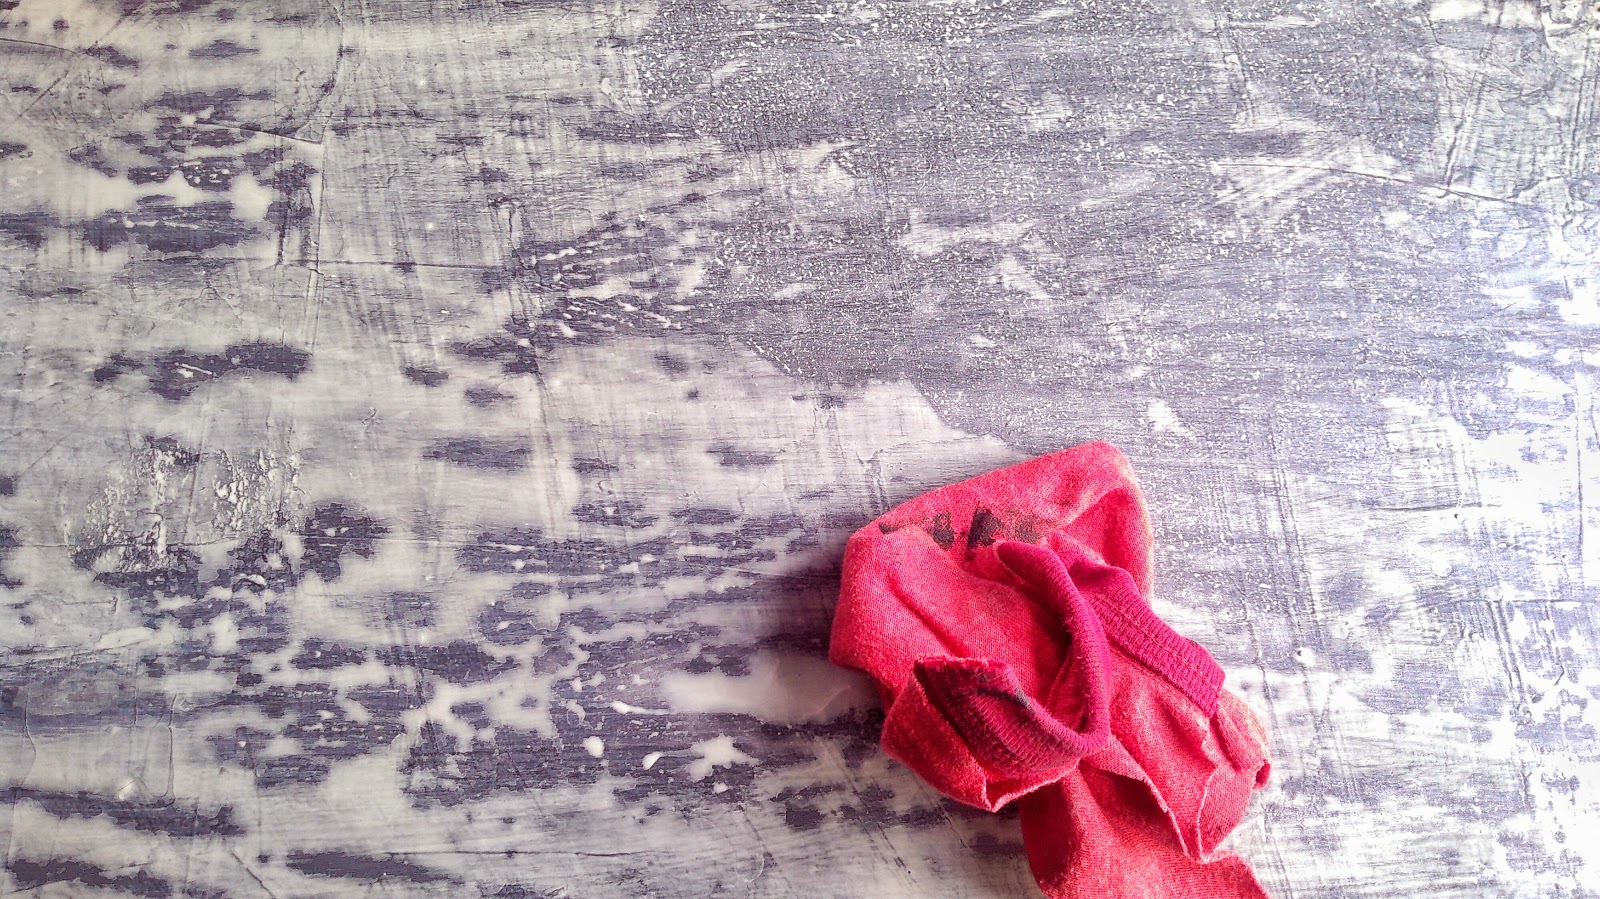
| Faux Old World Chippy Crackle Paint Finish |
This will probably be the longest post you will ever see written by me!
First, let me admit a deep dark secret to help you connect with me. I, Jessica Wooten, am a Pinterest Junkie. There, it's all out in the open. If I'm not tending to my son, husband, dog or home you'll probably find me there. It's sad really...all the time I spend staring at my hand, LOL. I rarely sit and watch t.v. so I need something to kill time. Along my journey there I have noticed two trends that bug me juuuust a little bit.
1. The SAME OL' THINGS....over & over & over.
2. Distressed paint tutorials. People who keep tearing beautiful furniture etc. up with their leopard spotted "aged" creations. Don't get me wrong, I love a good sanded, distressed,
not spotted finish....just don't add words like, "chippy," or "old peeling paint" to your description. Naturally aged items are dirtied & worn around edges, hardware & especially close to the floor where feet would hit it. They're dirty, grungy...a beautifull mess. The surface is uneven & for lack of a better way to express it, "thick." You can absolutely tell there's 60 years & 20 coats of paint on it. I guess it all depends what you're going for. If you want your finish to look like it's truly old, or if you prefer the look of what's all over Pinterest...the chippy milk paint finish, or the sanded, distressed chalk paint finish. I like them all, but for today we're going to focus on the real deal.
Oh, I forgot...one more trend that irks me..a certain $50 QUART of chalk paint. Gag. Yes it's an absolutely beautiful finish! Yes, you CAN achieve an almost perfect rendition with oops paint+ plaster of paris or joint compound for less than $5!
Back on track though. I discovered a way to make a salvaged
or new piece of wood, furniture, plastic or even a wall...whatever surface you want, look like it has decades of paint & drum roll please.......
the oh so coveted, peeling paint.
Let's get started shall we? First gather your supplies. I did this outside on my work table, if inside cover your work surface & the floor. You don't want to waste time trying to be tidy.
Materials-I already had all of these things. It's not a science, so be creative& see if you can substitute for things you don't have & keep your costs down.
Prep,
Medium sandpaper
Glass cleaner
Rags (I cut up clothes my son grows out of or ruins, clothes hubbie ruins, torn sheets, towels. I keep them in a container so I always have rags when I'm working.
Project
Joint compound (a good size container should be about $5)
1-10 or more colors of cheapie acrylic paint, aging drying out chalk paint...any paint
Wide putty knife or 5"or so piece of cardboard (Really just an old credit card will do)
An old credit card/reward card
1-2 containers with a lid (mason jars, sour cream containers, etc.)
Plastic knife or paint stir stick to mix your colored joint compound & slap it on surface
Brown craft paper or school lunch brown bags or newspaper/copy paper may work in a pinch
1tbsp of non-sanded grout, plaster of paris, sand or dirt...yes dirt, if you so desire
Crackle medium (or school glue, Elmer's Glue-All, wood glue are cheaper and work!)
Polyurethane (spray is easiest, matte will be best) or sealer of your choice *optional though it will keep it from continuing to chip, not optional if you're making something that will be touched a lot. ie.furniture, coat rack, etc.
Above & Beyond *Totally Optional...It looks AMAZING without these too!
Stain(s)
Glaze(s)
Rusty nails, hinges, hook & eye, any metal *totally optional
If you use rusty metal, you can add dark brown cheap craft paint & tiny brush
Cinnamon
Step 1
Lightly sand whatever piece you've chosen to test this method...yes, practice makes perfect! No, sanding is not hard or time consuming. I hand-sanded my board all of 15 seconds.
Brush it off.
Spray with window cleaner or some degreaser. Wipe off.
Step 2 (Totally optional)
I started with a tan/ivory painted piece of salvaged wood from a bookshelf someone threw out, which is why you see the tan color behind the joint compound. Bare wood would be fine, though I would paint it to get it primed before starting any further steps. Slap some joint compound on your surface. I didn't tint it, you'll see very little of this layer. I used a wide putty knife, (credit card, piece of cardboard) to spread it over the board. Doesn't need to be perfect, just cover a lot of your surface in a textured manner if you'd like. I varied the thickness, scraped & pulled, layed my knife almost flat & dragged it across the wood kind of wiggling it, lifting it off here & there.
*Note: You'll want to scrape along the outside edges (the sides) to get them textured as well. Do it now & save yourself from having to carefully do it later...like I did! BOO!
Let it set up a little, just a few minutes at most, lay brown craft paper over it, mine came from packing material, & lightly smooth it onto your board. You can vary the pressure when smoothing it on. I went through applied more pressure with my palm & fingertips here & there. Wait a few minutes & peel it off. It doesn't matter if a little or a lot peels off with this layer. NO, you didn't mess up!
Step 3 (Again, Totally Optional)
So, this is where practice makes perfect...AND why you should always write your method down (as you go if you're forgetful like me!) somewhere so you don't miss opportunities to awesome-ify your future projects.
I
didn't do this, but it would be great to spread some crackle medium in different areas, a blotchy manner will probably look best, but still more coverage than not. Let it set up following directions on label & move on to next step. If you only have a crackle topcoat medium then do this step AFTER step four. Your package will tell you what you need to do.
Step 4
 |
| Squirt/Pour paint all over, sprinkle a little non-sanded grout or plaster of paris, sand, dirt, dust..LOL! |
Put lots of little blobs of paint all over your surface. I used 9 varying shades of blue, gray, ivory a touch of black & 2 yellows. You can do as many or as few as you want, you're not gonna' mess it up! In the end, the many paint colors come through just a bit & appear as many different layers of paint.
Note: This is the perfect time to use up any older, thickening, irregular looking homemade chalk paint or old craft paint since you don't need it to be smooth! I used both of these things.
I then sprinkled some gray non-sanded grout over the board so it would mix in with the paint some & leave the surface with even more texture. You could use plaster of paris, sand, dirt...yes I'm serious! I can guarantee you that at least one person painted your piece without sanding or cleaning it.(If it were really 100 years old!)
Step 5
Sorry, I didn't get a picture after I spread the paint out!
Using a credit card, or a block of wood or piece of cardboard...you get the idea, start swiping back& forth to spread the paint around to cover the surface. Keep in mind the more you swipe the more your colors will blend. So, for the most part, stick to a left-right motion. Of course to get all of the perimeter you'll have to change direction. Do it til you're happy with it, you'll only see small pieces of this all over the surface when done.
*Note: You'll want to scrape along the outside edges (the sides) to get them painted as well. Whether you want them to match or to be a solid color...do it now & save yourself from having to carefully do it later...like I did! BOO again!
If there's a color you hate, add more paint, cover it up...it doesn't matter if the paint is already drying or tacky...texture is what we're going for! Actually, I purposefully moved my paint & joint compound layers around after they started drying so I would get globby & gritty pieces pulled around here & there.
(I also sprayed a bronze spray paint here & there.)
Let dry.
Step 6
 |
| After paint & second layer of gray joint compound |
Put some joint compound in a lidded container(just to save any unused portion). Squirt paint in & mix til it's the color you desire, mine's a medium-dark gray. Trowel on, just follow step two. Again, after I got it on, I ran my putty knife across the board a few times kinda wiggling it, lifting it off occasionally to vary the texture & evenness of the surface. You will see the most of this color coming through your topcoat. I did joint compound because it looks like old plaster, but you can do this layer with paint I would think as well if trying for a different look...like one without all the texture & unevenness that decades of painting from inexperienced painters would yield. This would include drips also...next time I'll be throwing a few of those in!
Let dry.
Step 7
Spread crackle medium (or cheap ol' school glue or Elmer's Glue-All or wood glue) all over surface, varying the thickness, missing coverage here& there...don't worry about it, don't freak out...it'll be alright. If you mess up, it could end up being your new favorite technique! (& just slap another coat on)
Let it set how the label says, mine said till it gets tacky,(which is what you do if using some type of glue instead of crackle) so I waited till tacky for the next step. I've learned that you can let the glue dry, you're next layer will reactivate the glue & it'll still work.
Step 8
 |
| Whole board(Will be a double sided sign) |
|
| Up close & personal in all it's glory....gorgeous goodness! |
Now here's where I started wondering if this would even work. "Will crackle medium work to crackle joint compound? Hmmm, this isn't gonna work...I'm wasting my beloved crackle!!"
Just follow step six which is following step two.
This time cover the whole board with the joint compound...still doesn't need to be perfect, it's okay if it's not fully covered. I tinted mine with ivory craft paint..the small cheapie acrylics.
This time, as soon as you've covered the board lay the craft paper over it & with light pressure smooth it out. I applied deeper pressure with my palm/fingertips in a few places so it would pick up a varied amount in the next step.
Wait till the joint compound is setting up pretty firm. It was 98° & humid in Texas so I waited around 10 minutes...next time I'll probably try it around 8 minutes.Peel up the corner, if it's lifting off a good amount of your last layer, peel the paper off. If not, smooth it down & wait longer. If you're doing this on a large surface you should apply the last layer of joint compound followed by paper in 1-2sq. ft. sections. But again this will depend on your crackle medium. If it's like mine...apply next layer when medium is tacky, you'd have to apply the crackle in 1-2sq. ft. sections, then joint compound, then paper..all in 1-2 ft sections! No thank you, I'd just work quickly instead! But really if I were doing a wall I would buy the crackle medium that you let dry then apply the next layer & apply the joint compound/paper/peel just several square feet at a time.
If you peel too much of your top layer off, just repeat the last few steps. Crackle, joint compound, paper, peel. Just keep working til you love it!
Go Above & Beyond
If you'd like to really make it look old, use any mix of stains and/or glazes in the areas of wear discussed in my rant at the beginning of this post! Since my item is a piece of wood, I used these around the edges as if this was a piece of a barn, fence, outhouse, LOL. I concentrated my efforts on the long edges.
You could do many things to add interest& believeability to your piece. Add some cinnamon to the wet paint or joint compound...or before the sealer to simulate rust.
You could add a few rusty nails. (I save all the nails from my salvaged wood) You could add one or two rusty hinges, or a rusty hook & eye, like what's on an old screen door.
If you add rusty metal, go the extra mile & make a line by it (like where the hook would lay if you add a hook & eye type hook, etc.) or a halo around it,with a tiny bit of watered down dark brown paint & perhaps just a tiny bit of cinnamon on top. Because old wood always has small areas where the rust of these metal things seeps in & stains the wood.
Let it dry & apply a sealer to protect your labor of love.
The Verdict
I would think you could totally replace the joint compound layers with paint layers. At least paint mixed with joint compound, maybe 3 or 4 parts paint to 1 part joint compound...& get the same or similar results. But I can't say for sure...yet!
This finish probably isn't for everyone, personally I don't know that I would like it on furniture but you may. In my opinion, you can't beat it for wall art, like signs, coat racks, maybe small decor items, a lamp an accent wall in your house. Yum! Just keep in mind, once you do this finish you're probably not going to be able to sand it off to get back to the original surface, or at least you'll have one heck of a time doing so. You'd probably need to knock down the texture...get it as flat as you can & skim coat it to start with a new surface.
I'd love to hear your thoughts...especially any recommendations on techniques you've tried with awesome, or less than awesome results. I hope you enjoyed my first little blog entry & will stop by again soon to see what I'm up to...let me know what you're up to!
Onto the next!