
Note: You can achieve as gray a look as you want with this process. For this side of the board I opted to copy an antique zinc sap bucket & hit it dead on. On the other side I went for a more traditional galvanized bucket & hit it about dead on too!
I mixed a dark graphite gray like color from oops paint, craft paint & joint compound to make diy chalk paint. I scraped it on my board with a credit card so I would get some nice texture for following layers to gather into. I then watered down some light-med gray craft paint to make a wash, brushed it on the board & used a damp rag to wipe it back. Which led to here:

I then waxed the board with Briwax, headache inducing wax, even outside. Let it set up overnight & buffed it out.
I mixed up a splash of water, two splashes of mineral spirits, a tiny dribble of liquid silver leaf, & a pea-sized drop of wax. Scientific, I know, to get a metallic wash. I used a chip brush to paint it across my waxed board, this separation will happen naturally over the wax. I sprayed it heavily, SOAKED it with a water bottle until I was happy with the pattern & left it to dry overnight,sopping wet. Like this:

The next day, I used my same gray paint wash, brushed it on, then used a damp rag with a bit of the wash on it to pounce up& down all over the board & left it to dry. Like this:

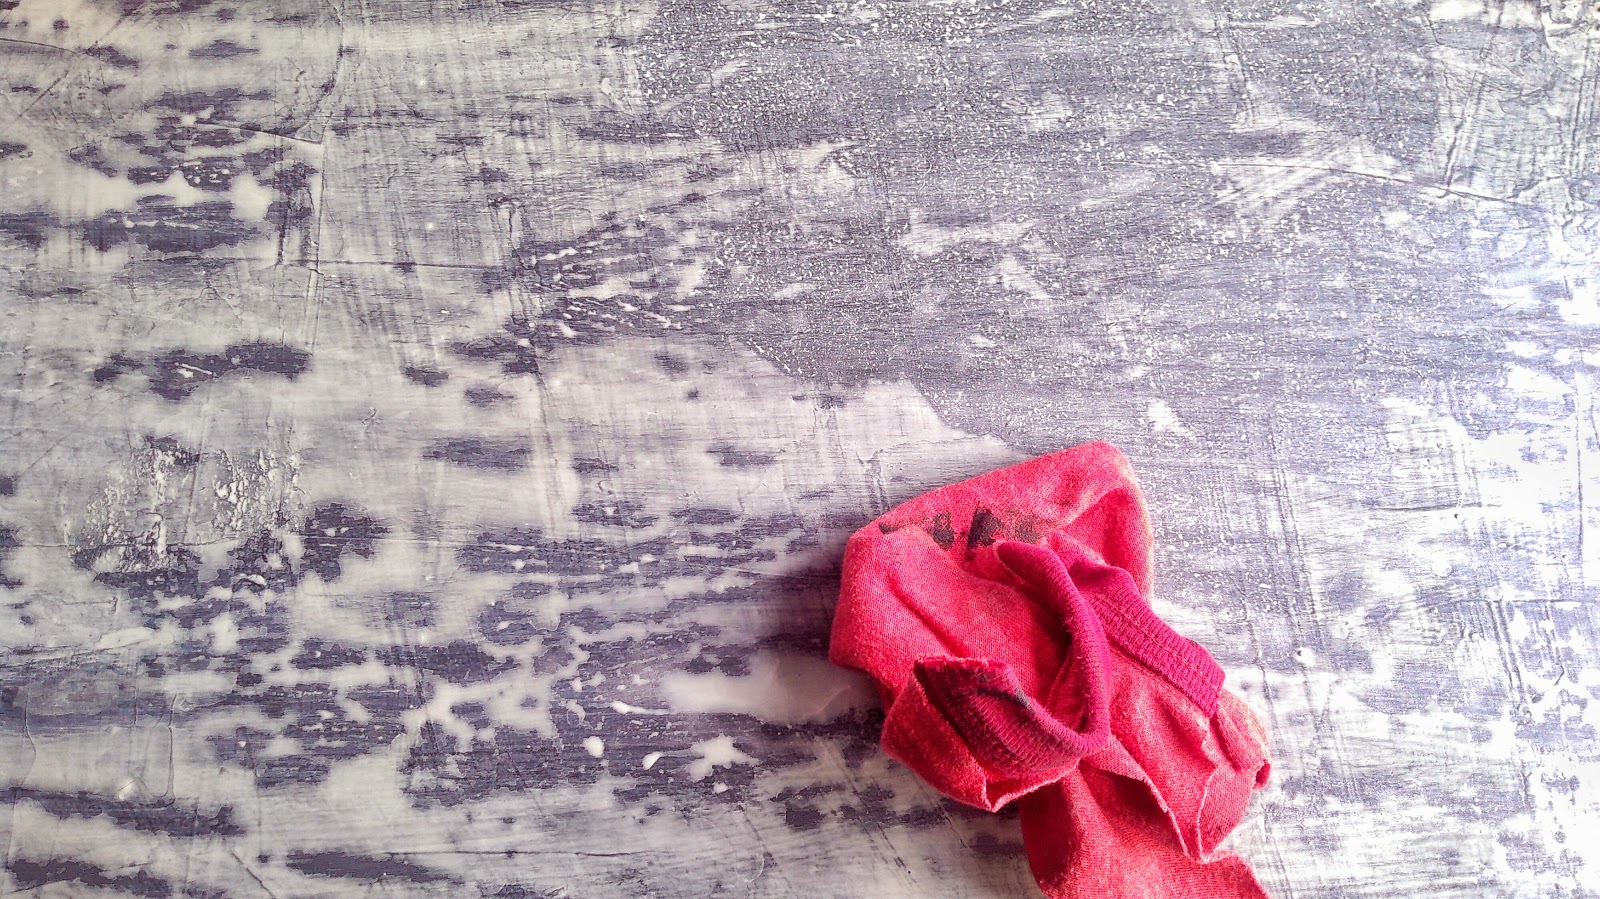
I repeated the last step one more time. After it was dry I used a foam brush& put a few coats of polycrylic sealer. This after a failed attempt to wax it again...duh, the wax just rubbed the wash off. It held just fine despite the fact you're not supposed to be able to poly over wax. I can't attest to the durability of this for say, a furniture finish, but this will be a sign. I'm thinking it would be alright though, it seems pretty well adhered.

Now for the other side of the board. It was the side that I started waxing & my gray wash rubbed off! So I used a silver & a white paint pen alternating them...I dotted all over the dark area& quickly smooshed it around, dabbing with my t-shirt rag I used for the gray washes. I also used the gray wash & metallic wash in that area until it didn't stand out like a sore thumb.

Onto the next!
No comments:
Post a Comment